
It's that time again, time for another challenge.
Thankfully, as far as I could tell, the response to the very first Community Challenge was generally pretty positive, all things considered. Although I did get a few comments poking fun at me for opting for Battletoads' Turbo Tunnel over some of the later, more challenging levels (like Clinger Winger or Rat Race).
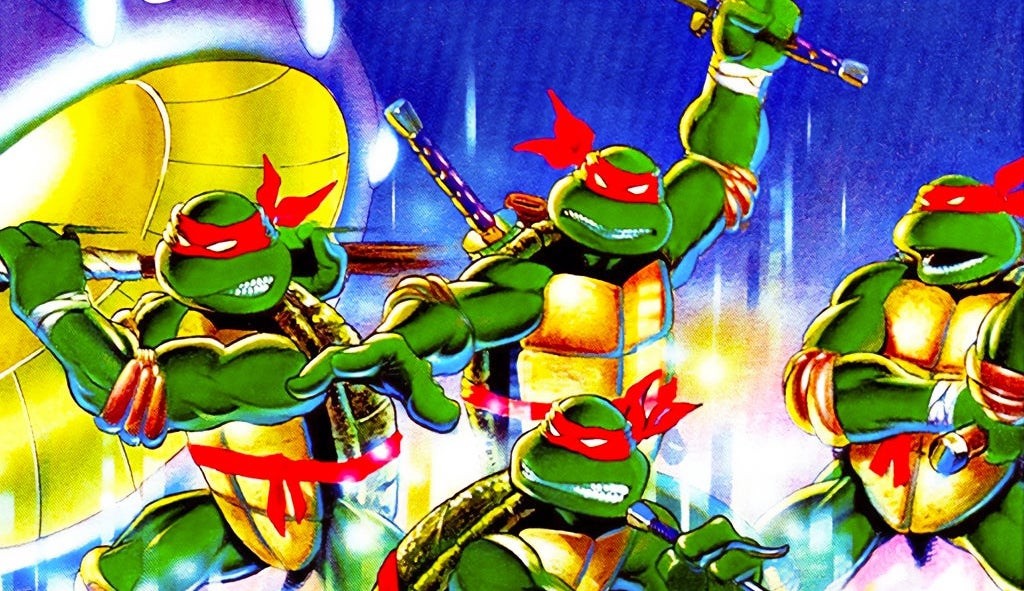
As a result, I wanted to take a step back this week and let the community decide on the challenge, with the out-and-out winner being the Technodrome section from another challenging NES classic of old: Teenage Mutant Ninja Turtles. In the past, I have to admit, I've never actually beaten Teenage Mutant Ninja Turtles all the way through, typically playing a few levels before hitting the Turtle Van section on level four, where I usually lose my patience because of being forced to backtrack to load up on missiles.
This week, however, thanks to the challenge thrown down by the community, I set about finally trying to conquer the punishing game for the very first time, which meant actually dedicating the time to learn it. So I loaded up a copy of the game (my version of choice being the one found on Digital Eclipse's Teenage Mutant Ninja Turtles: The Cowabunga Collection) and tried my best to make my way through the intimidating gauntlet ahead.
Rather than my usual approach of pushing ahead with a single character and hoping for the best, I decided to play the game more tactically, switching out injured turtles rather than letting them "die" or be captured outright. This meant I wouldn't have to worry about freeing them on harder levels later on, but could instead heal them back to full health whenever I found a building with pizza (the game's equivalent of a health item). I found, for instance, that there were a few areas in the game where you could enter and re-enter to respawn the items within, and used these sections wherever possible to bring my party back to full health.
As for approaching some of the game's enemies, there were a few different lessons, in particular, that proved to be pretty invaluable to me. The first of these and probably the most important was to take a quick survey whenever I entered a room, to see what enemies lay ahead, with the game essentially allowing you to exit and reroll if you aren't happy with the results. If, for instance, I saw "physicalskis", i.e. the brutes with the boomerangs, I always found myself backing out and re-entering, knowing that they would likely be replaced with the much slower and more predictable golems.
Another significant lesson, meanwhile, was all about learning which turtles are better equipped to deal with certain situations in the game. In the past, I'd pretty much always pick a character based on which turtle I liked best at the time, but by doing that, I was essentially ignoring a huge part of the game's design, which is that each character is designed with specific scenarios in mind.
Donatello, for instance, possesses a powerful bo staff, which has a high-damage output and long reach, being able to "cheese" two of the major boss fights — Rocksteady and Big Mouser — and dispatch some of the most annoying flying enemies easily (such as the balloon bombers) and bad guys situated on lower floors. Leonardo is fairly well-rounded and is arguably an all-rounder. Raphael is best when you're being attacked close up, due to his limited range, and Michelangelo is great in a pinch, if you find Donatello or Leonardo out of commission.
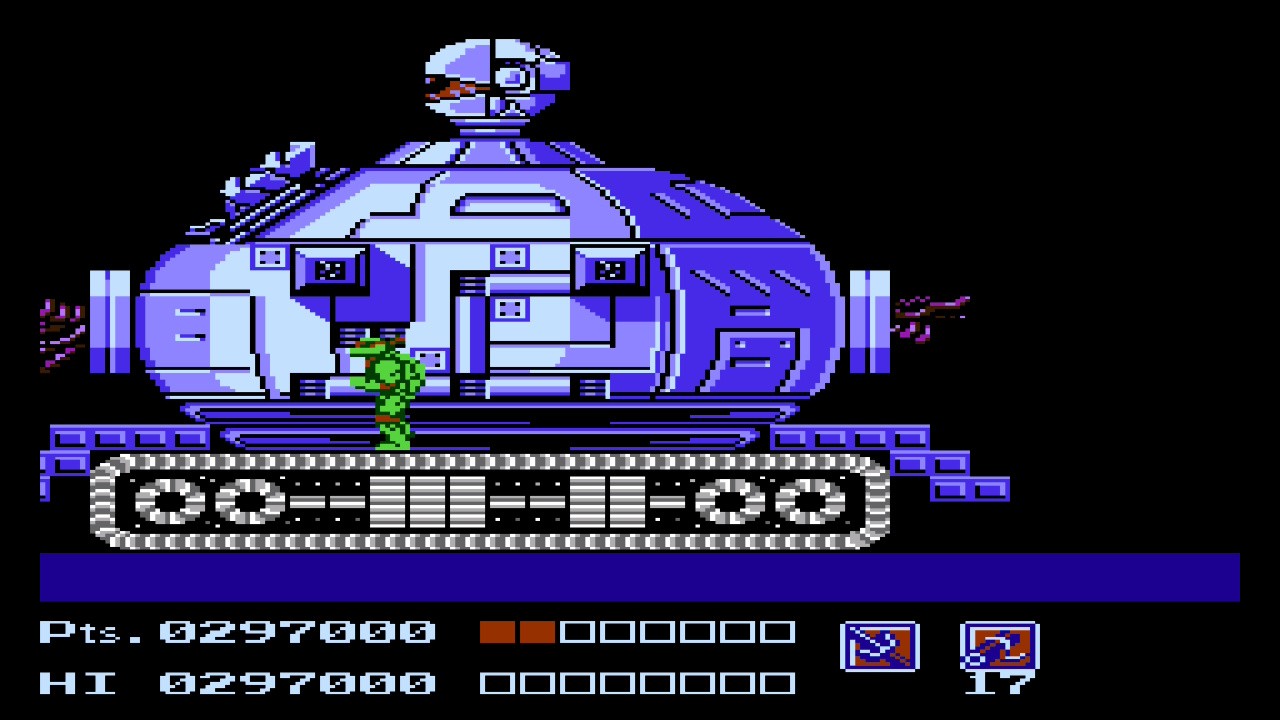
With this more strategic approach, I reached the Technodrome boss without too much difficulty, but found myself struggling. So I ended up farming for scrolls (the most powerful power-up) on the fifth level of the game to give me an added edge. This helped me finally reach the interior Technodrome, but it was here that I realized my test had only just begun, with the major obstacle being the newly introduced jetpack-equipped "Rocket Men" that fly overhead and swarm around the player. Even with the scrolls in hand, these took a ridiculous amount of hits to kill, and as a result, I decided the best approach was probably to ignore them, eventually figuring out that most of them could easily be ducked, without taking much damage.
This eventually brought us to a yellow corridor, which I'm guessing is probably the reason that people suggested this challenge in the first place, and caused me no shortage of headaches. In this section, you are essentially travelling left to right, battling the jetpack enemies and helicopter-esque robots, with the hallway getting narrower and narrower the more you progress. Therefore, my initial approach was to go gung-ho, hoping that I could duck the former and react quickly enough to the latter to clear a path. This fell apart, however, when I finally reached the narrowest section.
It was here that I will now concede that I turned to the internet for help, coming across a cool video whereby I learned you can despawn the jetpack in this more claustrophobic part of the level. Ultimately, this ended up being the key to mastering this part of the game, reducing the difficulty dramatically. After that, Shredder didn't stand a chance!
Did you manage to complete the community challenge? What challenge do you think we should feature next? Let us know in the comments!